
West Falmouth Kitchen Remodel: Start to Finish
/This month finds us remodeling a kitchen in West Falmouth. This kitchen remodel will replace a typical eighties builder grade kitchen which primarily consisted of laminate cabinets and counter tops. The redesign of the kitchen improves the look, layout and provides for more storage. The Homeowners selected a frameless cabinet in a natural maple finish manufactured by Dewils.. The countertop will be granite and the apron front deep stainless steel sink will be a focal point in this kitchen.
Follow along as we document the progress, the challenges and the final outcome in this soon to be fabulous makeover!

Demolition of the old kitchen was tacked by the homeowners. They did such a good job, that I asked if they wanted to hire on as my demo crew! When we arrived to start, the space was clean and ready for us to take over. The old cabinets and counter tops were recycled into storage/workspace in the garage.
 One of the first things we did, was set up a dust wall with a zipper door as shown in the picture at left. This dust wall will help keep the spread of dust to a minimum.
 As shown in the picture above, our first task was to remove a section of the drywall so the Electrician could update the wiring and placement of assorted electrical devices. We also needed to provide a new backer or substrate for the tile back-splash to come. If you look at the picture closely, you will see that the seams will be hidden by the base and upper cabinets. We also removed just over the width of a standard drywall width of 48" This will allow for faster and neater installation of new drywall.
We also removed some of the plywood on the floor as it was damaged and weak in some spots. Unfortunately at this point, we discovered that the sub-floor consisted of 1/2" plywood which is insufficient to support the new tile. A typical-sub floor will have at minimum, 3/4" thick plywood supported at all edges.
It was decided to install an additional layer of 1/2" plywood laid perpendicular to the existing sub floor to provide more support under the large/substantial tile that is going to be installed.

The picture above shows the exterior wall where we are preparing to open up and install an additional window while replacing the window on the left with a new Andersen gliding window. We will need to relocate wiring and carefully measure placement of the new windows, as we plan to install several receptacles and switches between the window bottom and the top of the counter top. Space will be at a premium here!
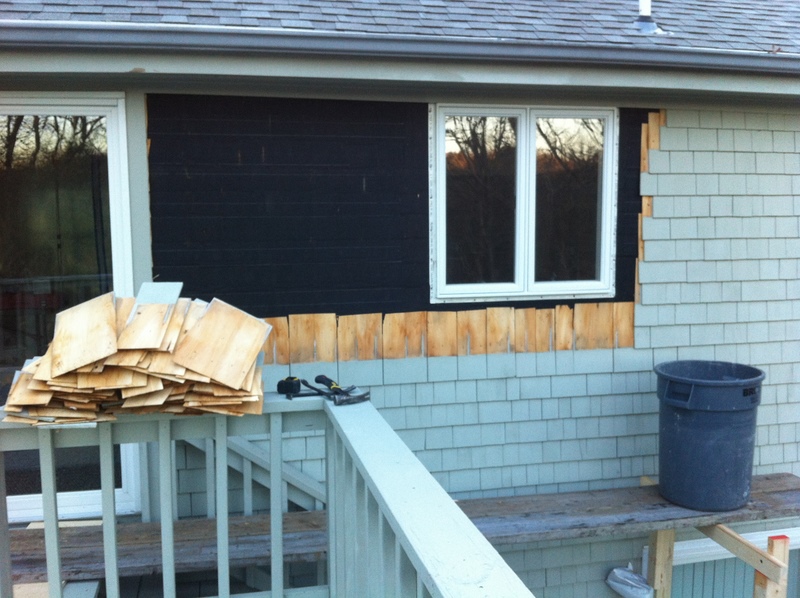
Meanwhile on the exterior, we have constructed and set up staging over the stairs. In this picture, we have carefully removed the existing shingles for reuse around the new windows. Soon this wall will show two new Andersen gliding windows!
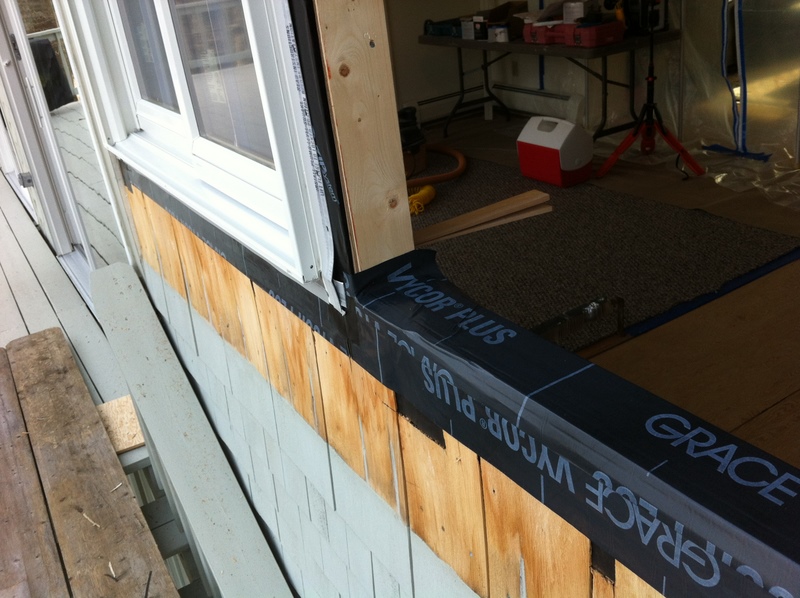
Next up, is framing the window opening and preparing the flashing system for the windows. As you can see in the photos below, we have added an opening for the new window and now we are preparing the openings with flashing on the sill and around the edges.

The windows are now being set in the openings. At this point, we make sure the windows are level and square before securing them permanently in place.
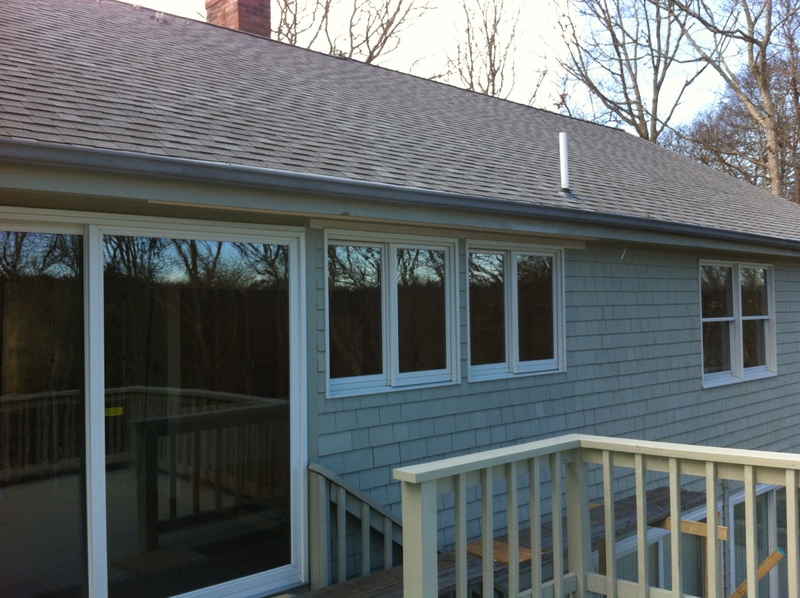
Here is a picture of the exterior with the shingles that were saved during removal, now reinstalled around the new windows.
On the interior, the window framing is complete, the electrician has completed his rough wiring and new insulation has been installed as seen in the photos below. At this point, we have gotten the inspections we need from the town and are now ready for the installation of the sheetrock.

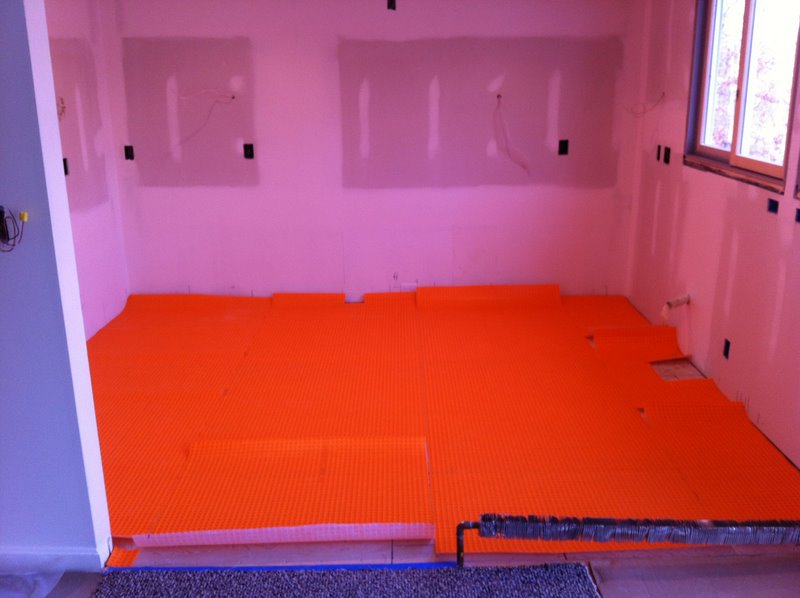
Just before the sheet rock is installed, we cover the insulation on the exterior wall with 4 mills plastic which acts as a vapor barrier. You can also see on the floor, that we have installed new plywood fastened with screws. This additional layer of plywood, will provide strong support for the new tile.
Coming up: Mud-time! The seams on the drywall will be coated with mud-aka Joint compound which will hide the seams. We'll also be slapping mud or thinset down on the floor as we install new tile.
In the above picture, you can see that the team from Spooner Drywall has worked their magic in patching the walls. They also worked magic on the the ceilings which have the dreaded popcorn finish on them. In fact you cannot see any evidence where the ceiling was patched at all!
On the floor, the bright orange covering you see is a product called Ditra which is a provides great support under tile and also isolates the tile and grout from the movement of the wood below. Ditra is used by professional tile installers the world over. Here, the Ditra is has been dry-fitted and is awaiting the tile setting to trowel down a layer of thinset mortar over the plywood. He will then embed the Ditra. The tile setter will trowel more thinset onto the Ditra and set the tiles. Going through this multi step process will ensure a strong floor that resists movement and cracking. Here is a snapshot of the cabinet install in progress.
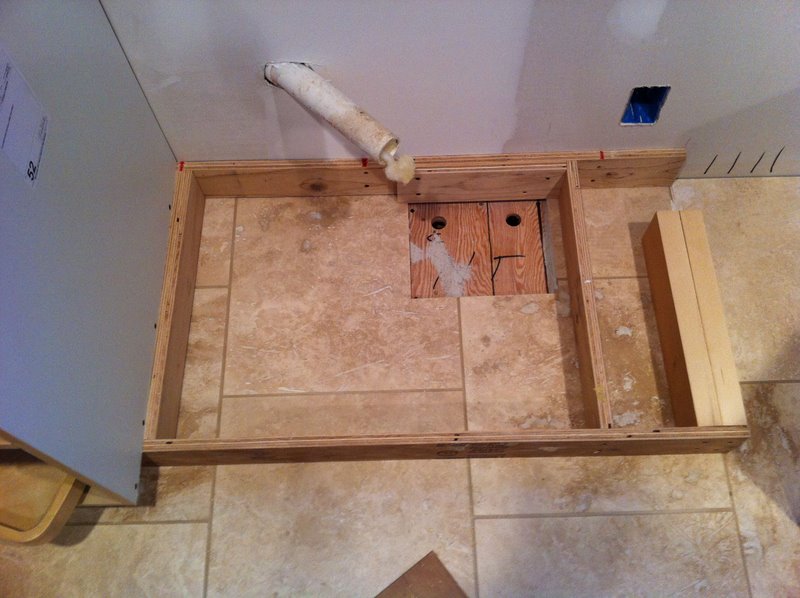 The space above is for the sink base and you can see how planning ahead avoids many problems later. 1. We left out a section of tile to make it easier to install the water piping. If we did not, the plumber would have to drill through the tile inside a very confined space. 2. We drilled the holes for the water piping ahead of time. 3. These cabinets require a site built base and in building the base for the sink cabinet, we created a chase for the piping for the dishwasher to be threaded through in the right hand corner.
 As shown above, the sink base is now installed and you can see that multiple holes have been made to accommodate the plumbing, electrical and the new sink.
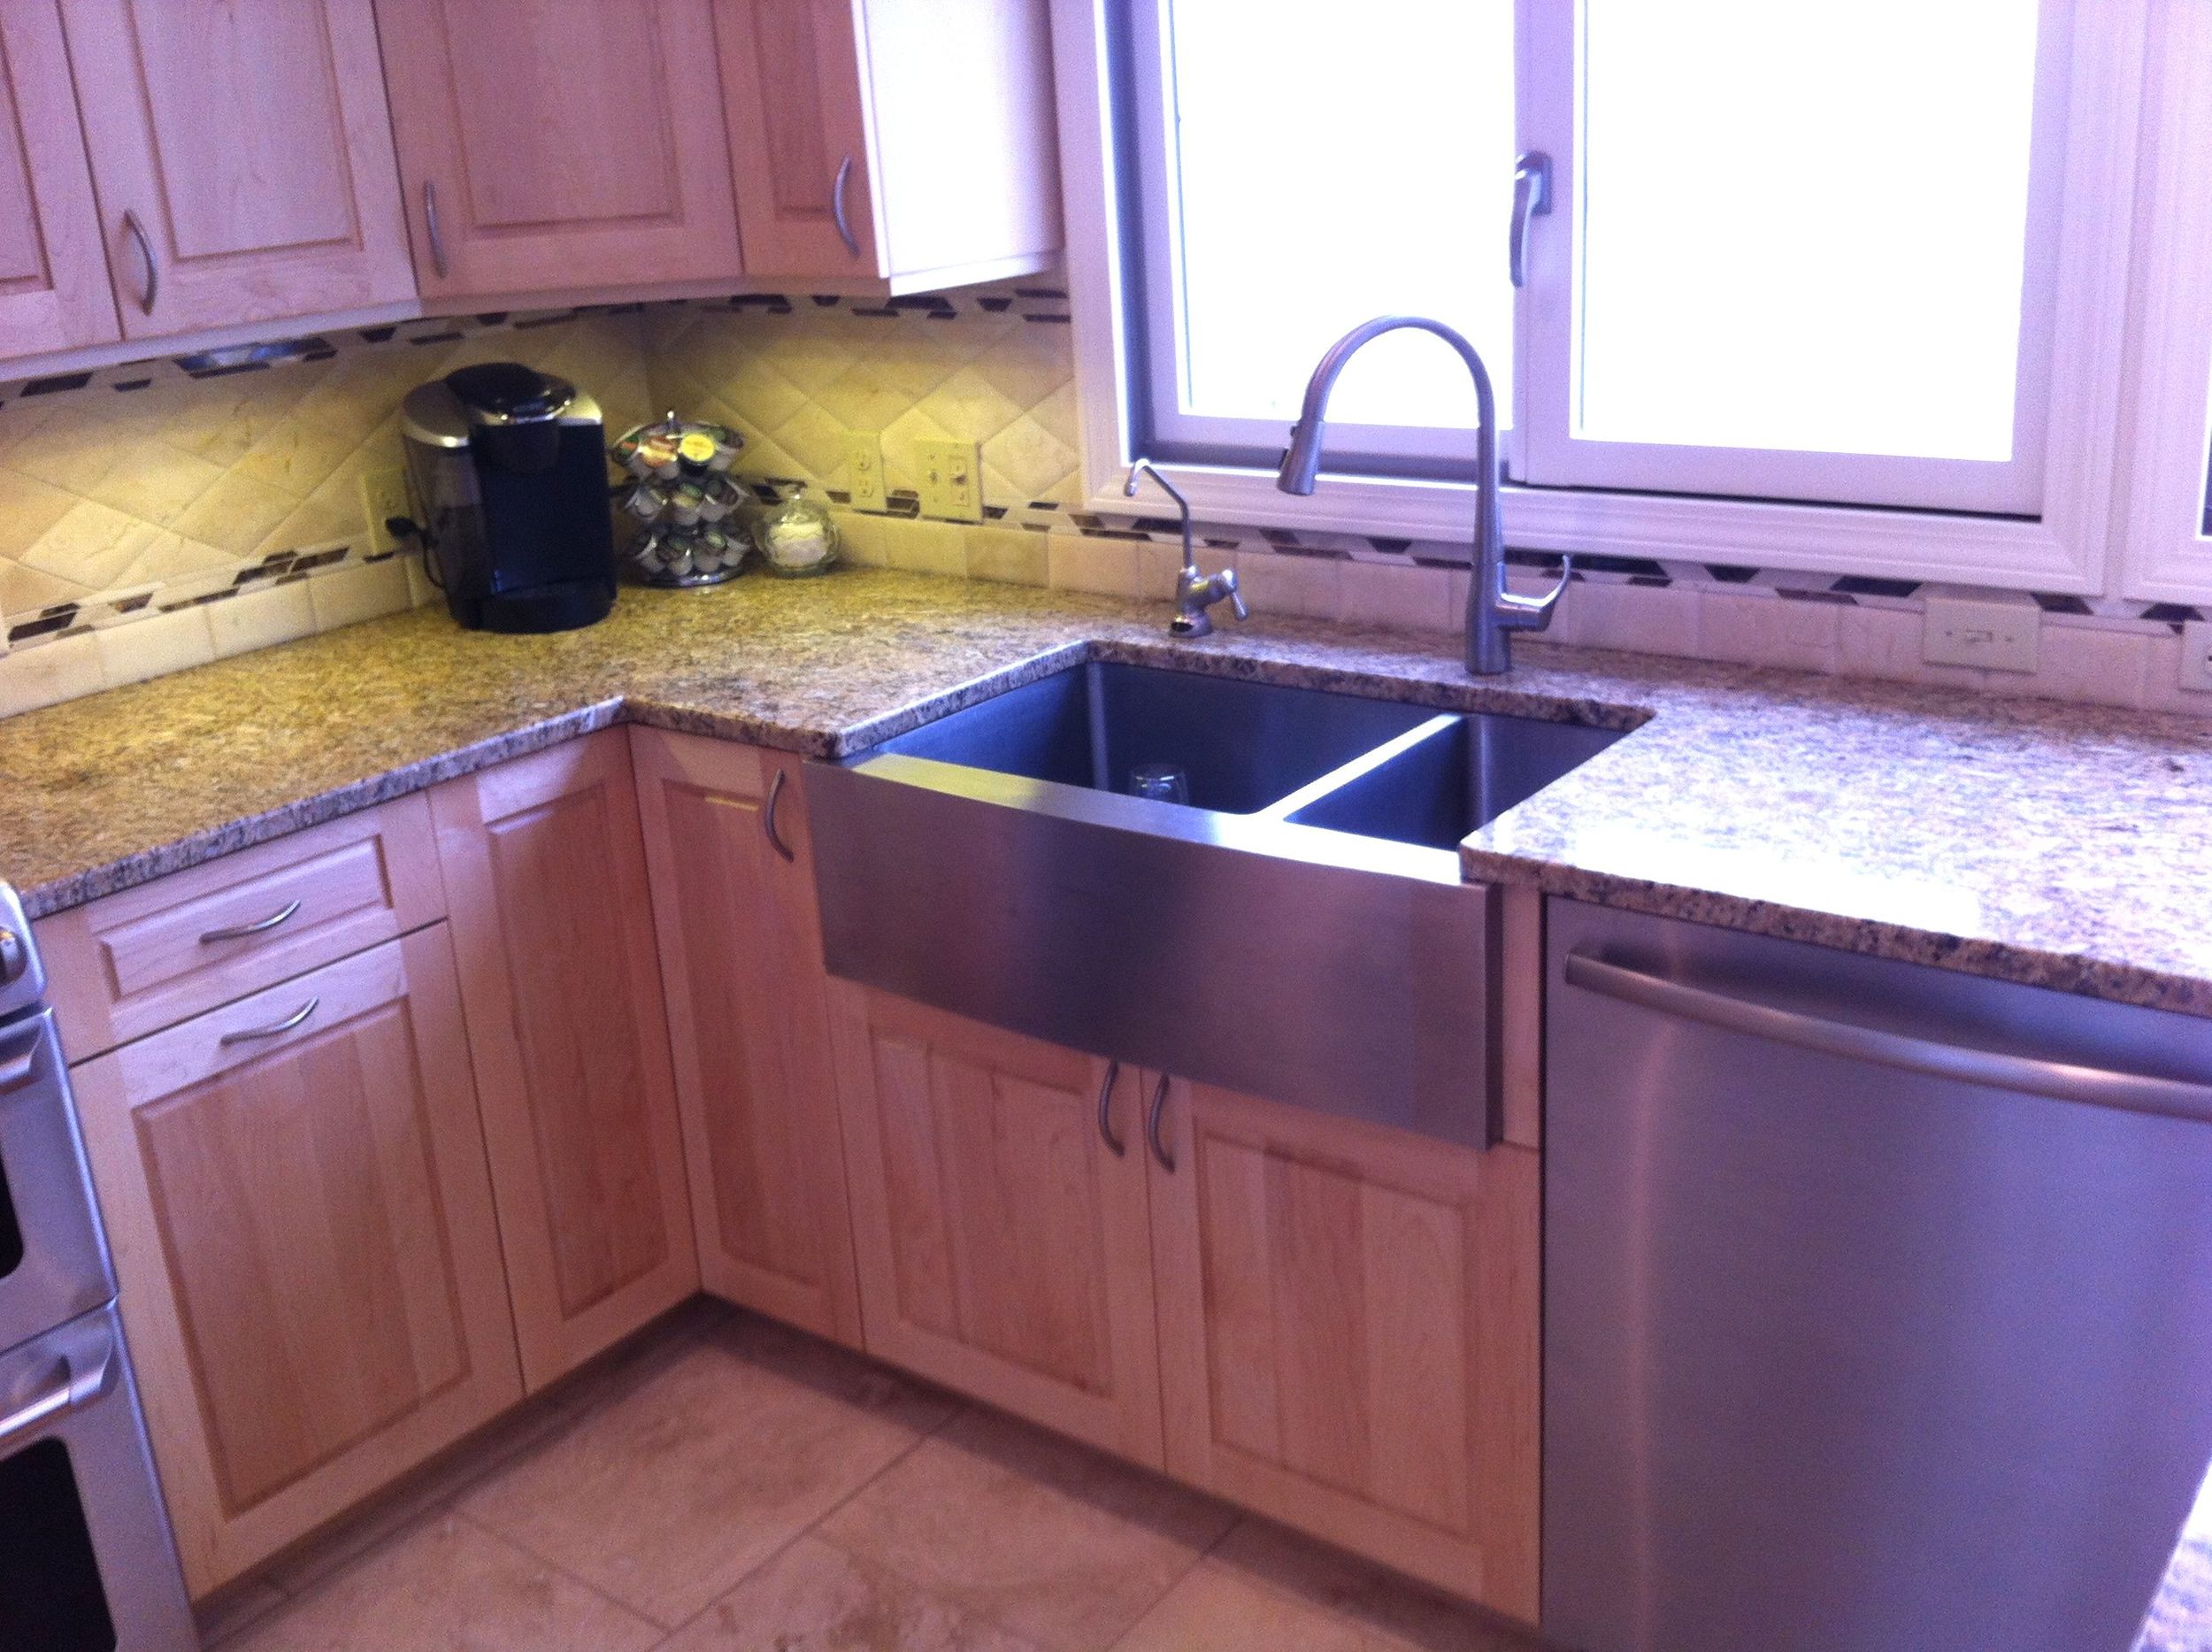
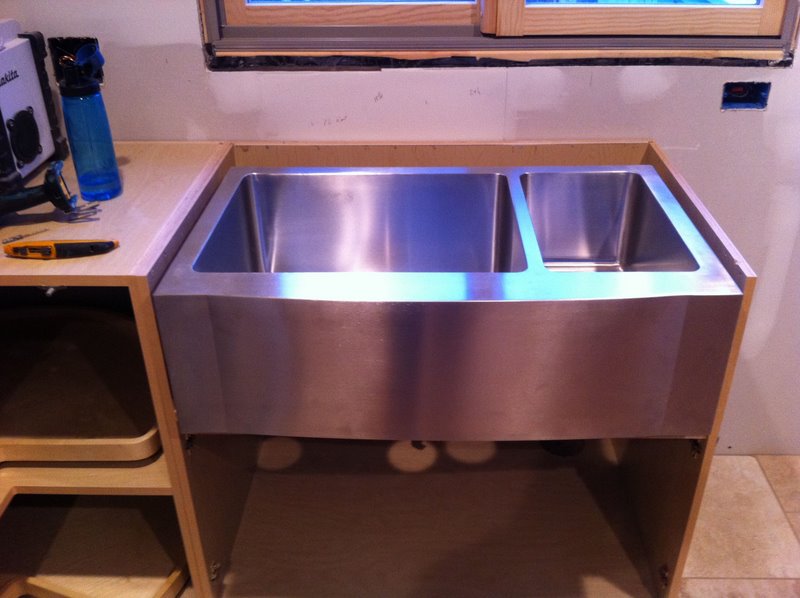 The picture above shows the stainless steel sink now installed. Coming up. Bumps in the RoaAs you can see in the
As you can see in the pictures below, all of the cabinets are installed and the granite has been carefullly put in place and then we hit a couple of bumps in the road.
Turns out the interior finish on this stove was defective. The homeowner decided that they wanted to replace it with another brand which in turn required returning the over the stove microwave. This delayed installing the backsplash tile.
On top of this, the weight of the refrigerator punched a hole in the tile as we were shifting it in to place. If you look at the photo below, you can see a round hole punched through the travertine tile which is somewhat a delicate tile. The kicker was, that the damaged tile was partly under the refrigerator side wood panel which would have to be removed so that the tile could be replaced. This in turn held up the completion of the upper cabinet moldings...
 Fortunately, replacing the tile was a relatively simple if a bit messy task that was done quickly and efficiently by the tile installer.
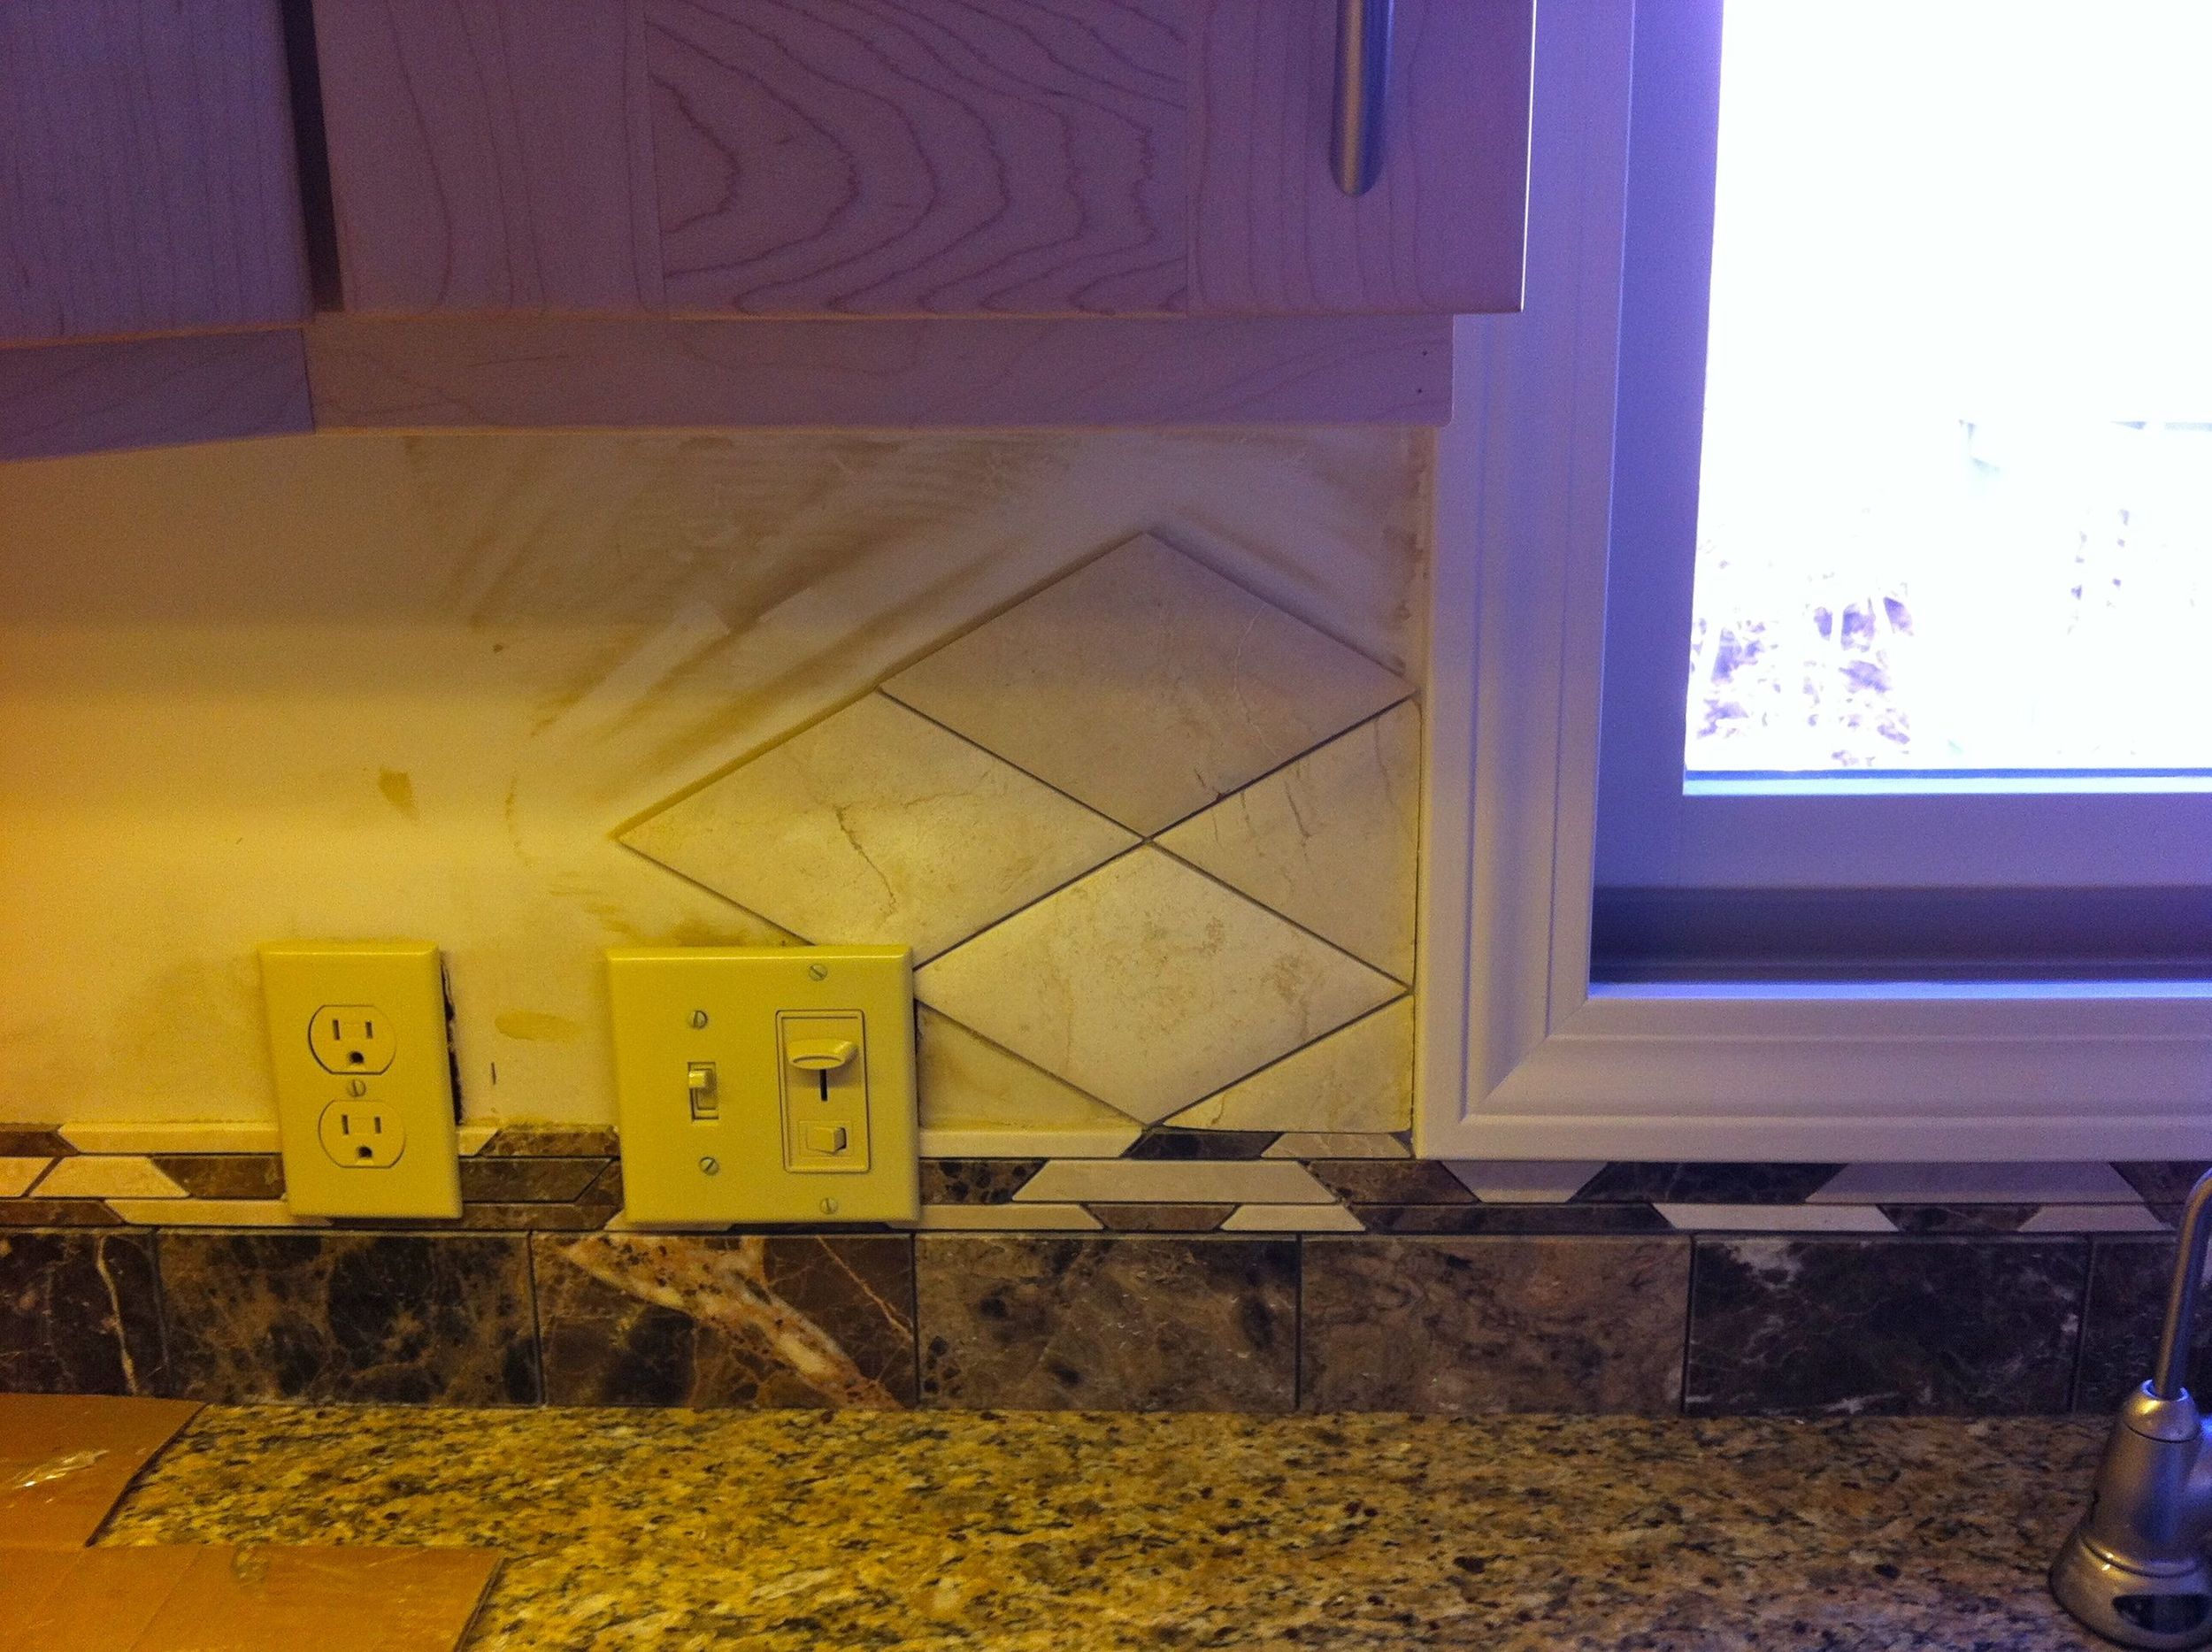
At the start of the tile install for the backsplash, it was found that the varying thickness of the different tiles did not work well together. The homeowner decided to go with a different look as you can see in the pictures below.

All Wrapped Up and Done!